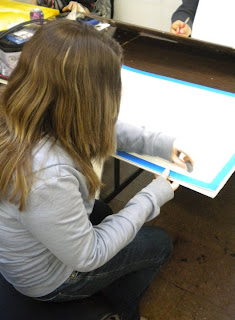
This is a bit older but still good. This was the second to last project assignment for my Drawing II class. And I got pictures of the whole process from start to finish! Well...my friend, Corie, helped actually.
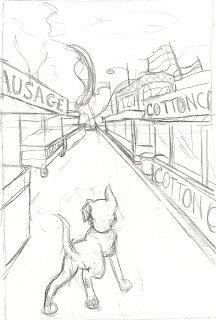
1. I made up 3 concept sketches to choose from for the final piece. My favorites were the first two but compositionally speaking, the first one worked the best.
2. I blocked in some color quick on a small sheet of canvas to plan out how the colors would be laid out.
3. Next step was putting a grid on both the sketch and the board to make sure it's redrawn in proportion.
4. Then I went in with a softer pencil to get the thin edges of the detail in the background darker. I had to spray with fixative to make sure it didn't smudge into the paint.
(Close up of the process of getting the detail in)
5. I then went in with a thin paint brush and a dark bluish color to really make the background details pop.
6. And here is the final piece! For the background, I had to make the oil paint as thin as possible and just glaze over it 2-3 times, then took some paint away from the amusement park with a q-tip. That way, I didn't cover up the park completely and it ended up giving it that "far away" look as well.


