Monday, December 26, 2011

Happy Holidays!

For the holidays, I was going to try and do a "12 Days of Christmas" series, ending on Christmas day, but because of finals and everything else, I ran out of time. Instead, I did a few sketches I liked enough to finish as paintings. Unfortunately, I still only had time to do one:


A nice wintery portrait of Christian, Kit and Christian's little sister, Evelyn. This was my first time with soft shading in photoshop, and I'm glad to say I think I understand how to do it now. The upside of this being the only picture I could finish is, I think it will be my last finished artwork for 2011. And with all the issues I went through this semester, this year in fact, I'm glad to have finished on a good note with this. 

I will be finishing the other sketches I planned on doing, of course. Hopefully before schoolwork piles on again. 


I also got some nice gifts this year:

A popcorn maker for my dorm 
How to Train Your Dragon: Gift of the Night Fury/Book of Dragons
The Lion King, Diamond Edition
A nice Moleskine sketchbook
Giftcards
A nice new watch
and an Iphone!

My relatives from my mother's side came up from Florida tonight and will be coming over tomorrow for a "second" Christmas dinner. We haven't had this many relatives together in quite some time, so it only adds to the good note this year's ending on. 

I wish this post could be longer, but between the holidays, and recovering from finals, my brain is gone! I wish everyone a Happy Holidays and a Happy New Year!!!

Monday, December 19, 2011

Animal Animations!

Our last assignment for the Fall Semester in Animation was to do different animal gaits (walk, trot/amble, canter, gallop). We could use different animals or the same for each gait. I chose different ones because I had several types of animal characters and wanted to practice. It really helped a ton with understanding each animal. 
This was a fun assignment to do. Unfortunately there were some exporting problems and everyone's animations were glitching and sticking between each loop. I did my best to smooth out the glitch but it's still there. I will try and find the problem and export it again if I have the time. For now though, I suppose they are tolerable enough to watch.


For the walk cycle, I chose to do a Lynx because I developed a recent character who shapeshifts into a Canada Lynx. I've grown fond of him quickly and the animal it's self so you'll be seeing plenty of Lynxes in my gallery an animations I'm sure.


My old friend, Trey, finally became animated. I was excited and pleased with how he turned out. Had some issues with the tail earlier but fixed it. Still could be a tad better in my opinion but it still came out just fine. The rest of him moves nicely (if you can look past the stupid glitch). 

I had animated a deer cantering, but that is sort of a work in progress. I have all the keys done but wasn't thrilled at how it looked. The head movement was good and the legs, but the body barely moved. I need to fix it. Once I do, though, I'll be putting it up here as well.


Finally, I did a horse galloping. Reference, for all these animations, is your best friend. Slow motion videos, pencil tests, pictures, anything. There's no shame in using a ton of reference. I loved this one. It was nice and smooth, but thanks to the technical difficulties, it looks choppy here. I apologize for that. 

Thursday, November 17, 2011

Lip Sync Work in Progress- Sophomore Year


Another project for my Digi Comp class. I used Trip! Finally, got to see the guy in color and I've had him for how long? I think Jonah Hill as his voice is fairly fitting actually. I decided to put this up before I finish it because it shows the three different steps in making it. The first part was fully colored and inked, then it goes to just the inked frames I did. The last part shows the rough version. I have rough keyframes done for the other two characters. I'll be finishing this sometime soon with those other two and a more finished background.

The audio is from the movie Knocked Up, but Trip belongs to me.

Thursday, November 3, 2011

Puppeting Assignmnet- Sophomore Year


Another assignment for Digital Compositing class. I used Niko again for old time sake =) This was a lot more tedious than I thought! Once again I hand drew the model and scanned it in to be inked and colored in Photoshop. Then I copied and pasted the separate joints into different layers. How many layers? A lot. Her tail has 4 joints in it, body has 2, the neck and head moved separately and her ears had 2 joints. The limbs are pretty obvious. It was a lot more trouble than it's worth to make sure the outline matched up at all times so I just got rid of it and ended up liking the vector look to it. After it was all assembled I imported it into After Effects and began animating, joint by joint. At first I thought it'd move a long faster than the traditional way. But now...let's just say my admiration and respect for claymation artists has doubled. You have to have so much patience for it.

Anyway, enjoy this little animation of Niko =) Next week I'm going on a field trip to Titmouse, where my digital compositing professor work. If I can take pictures I will. If not, I'll still share my experience on it!

Prepare yourselves for a slew of pencil tests coming up as well involving Kit playing tennis and another one of my characters, perhaps Ali, cracking a whip. Also, I have another assignment coming up in 2 weeks of a fully colored lip sync (exciting!) There will be a lot more animations to come this year. Lots.

Tuesday, October 25, 2011

Animating in Color- Second Year Animation


My first animation in color..finally! This was the second assignment for my digital compositing class. I was fairly happy with the results for a first time. The rough drawings were done by hand, then they were inked and colored in photoshop. After, I put it together using AfterEffects.

For this assignment, I used one of my characters, Ali, for this. I originally wanted to put audio to it but really ran out of time =s. I might in the future though and repost. The hard part is done =P. But for now, here is the first fully colored animation I've done!


Tuesday, October 18, 2011

New York Comic Con 2010/2011

Why 2010 AND 2011? Because I realized I had some neat pictures from last year that haven't been shared yet! Last year was more of a learning experience, although I did have a bit more luck last year meeting artists and famous people than I did this year.


In 2010 I got to meet one of the directors of the Secret of Kells, Tomm Moore. What a nice guy, let me tell you. He literally sat down with our group and drew with us. I got a nice sketch from him in one of my older sketchbooks! When he pointed out the Irish spelling of my name I admit..I got excited. =3 


That same year, I also met the character designer for Kim Possible, Stephen Silver, got a sketch from him as well (you can see him working on it above) and got one of his sketchbooks. It had a LOT of good tips and notes in there as well as amazing gesture drawings and designs. 

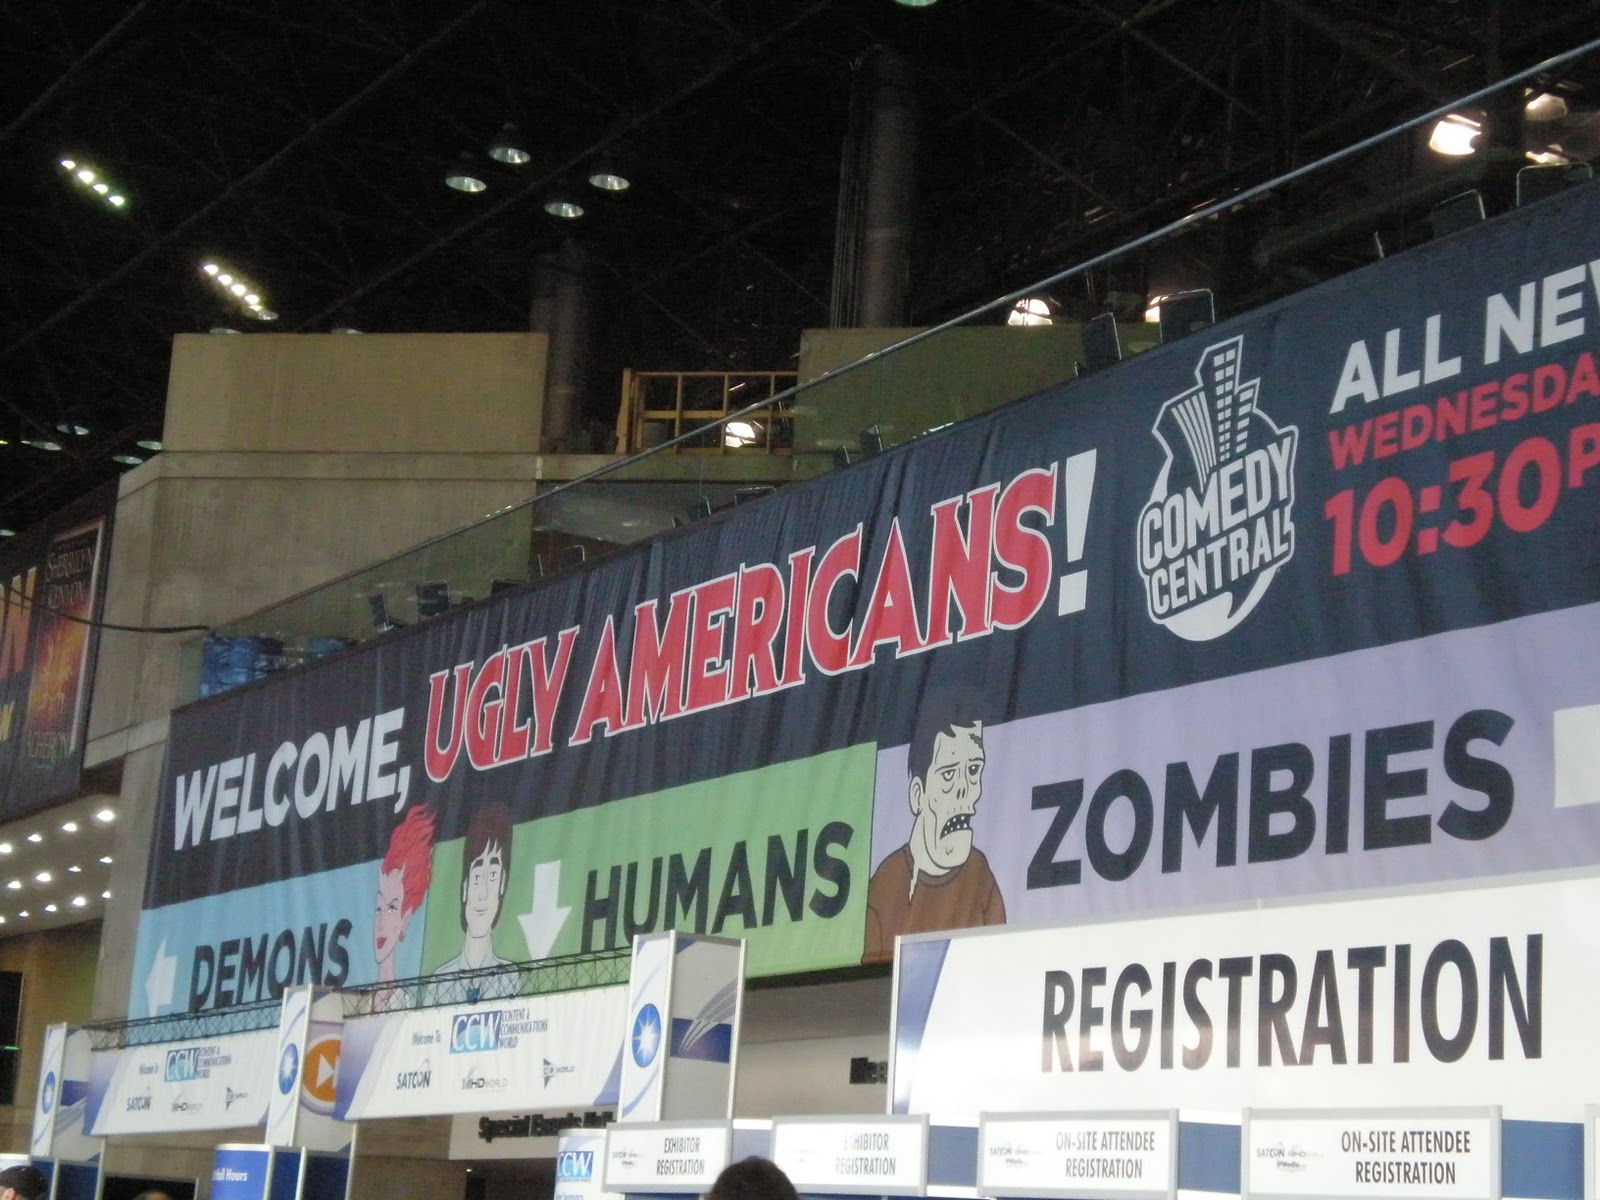
Here are some other cool photos from Comic Con 2010:


This year was also fun, even though I had missed two events I REALLY wanted to do: the Adventure Time/Regular Show panel and getting Pendleton Ward's autograph. That led to a bit of a disappointing end to the Con. However, I really can't complain too much. I still had a lot of fun, got in for free for working at my school's booth the first 3 days and got inspired. Met an artist I had some common ground with too which is always awesome. I think next year I will consider getting a booth with some friends. Make some connections and some profit all at once! 


I got some really neat stuff at this Con too, including a free "Comic Con 2011" Finn figurine:


I went a bit overboard with getting stuff but was it worth it? Absolutely. Above is a My Little Pony "steampunked" t-shirt, a small print of Marceline and Princess Bubblegum made by an amazing artist. She also did the little Marceline, Applejack and Marshall Lee buttons above too. I also invested in a Kung Fu Panda 2 artbook. HAVE NOT seen the second movie but I plan to when it's out on DVD. The artbook's amazing though. Definitely worth buying. 


These are some of the costumes/outfits that were on display at one of the vendors. I put these up here too because I was looking for outfits that were a bit more interesting than I designed my characters in. I probably won't change any of the Starcrossed outfits because they are just common kids. This is more for another idea I've been working on again recently involving shapeshifters. I want them to look more unique than the average human being because they are. So I took pictures of these outfits and stalked the store's website for ideas and got a lot of inspiration for some of the characters. 


This was something I was going to print and handout to people for free just to see if I can get my name out there. That plan fell through, however, in a way that's ok. One of my friends made a point that it could advertise that all I do is My Little Pony art, which isn't true. So, if I get a booth next year I'll do a few more characters and sell some prints of this and the others. Apparantly you can do that IF you drew it. I'll probably do some Adventure Time and Regular Show fanart to sell as well as my own original characters. 


This was a sketch of Marceline I was going to have Pendleton Ward sign. I was also gonna ask if he could do his impression of Lumpy Space Princess to record. Next time! 

Sunday, August 7, 2011

Traditional Painting Process

This is a bit older but still good. This was the second to last project assignment for my Drawing II class. And I got pictures of the whole process from start to finish! Well...my friend, Corie, helped actually. 


1. I made up 3 concept sketches to choose from for the final piece. My favorites were the first two but compositionally speaking, the first one worked the best.


2. I blocked in some color quick on a small sheet of canvas to plan out how the colors would be laid out. 


3. Next step was putting a grid on both the sketch and the board to make sure it's redrawn in proportion.


4. Then I went in with a softer pencil to get the thin edges of the detail in the background darker. I had to spray with fixative to make sure it didn't smudge into the paint. 


(Close up of the process of getting the detail in)


5. I then went in with a thin paint brush and a dark bluish color to really make the background details pop.


6. And here is the final piece! For the background, I had to make the oil paint as thin as possible and just glaze over it 2-3 times, then took some paint away from the amusement park with a q-tip. That way, I didn't cover up the park completely and it ended up giving it that "far away" look as well.